its the perfect tuesday
for a little dose of terrariums
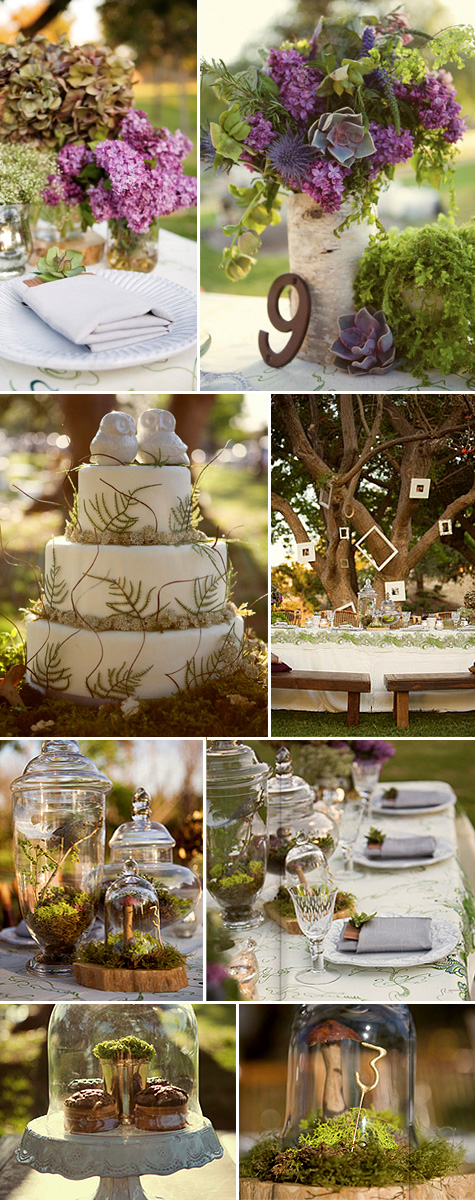
i've got a huge thing for terrariums
for a little dose of terrariums
i've got a huge thing for terrariums
they're adorable and pretty stinking cool
and they make my heart flutter all over the place
and they make my heart flutter all over the place
you can find them just about anywhere now
i found these in a clothing boutique on pier 39 in san francisco for $20
{which is a bit steep if you ask me...}
.JPG)
i found these in a clothing boutique on pier 39 in san francisco for $20
{which is a bit steep if you ask me...}
.JPG)
i also have a mini obsession with glass jars
they're just so nifty
they're just so nifty
maybe its because you can use them for anything
{drinking, crafting, q-tip holding...literally anything}
and sometimes it's that olive jar, jam jar, or pasta sauce jar sitting in your recycle
that will make the perfect terrarium
no need to spend your life savings on a crate and barrel apothecary jar
{though i wouldn't mind owning one or two of those...}
when you can just reuse use what you already have
i also have this soft spot in my heart for reject plants
you know
the ones that sit on the clearance racks in garden sections
the ones that sit on the clearance racks in garden sections
waiting for their imminent death
they're just so sad
they're just so sad
i always do a quick walk by just in case i can save a plant or two
and bring them back to health
and sometimes a terrarium is the perfect place
for a helpless plant to regenerate and make its comeback
and on occasion there will be a very sweet guy working in the garden department
who will just give you clearanced plants for free
{a smile may increase your chances}
and sometimes a terrarium is the perfect place
for a helpless plant to regenerate and make its comeback
and on occasion there will be a very sweet guy working in the garden department
who will just give you clearanced plants for free
{a smile may increase your chances}
so here's a little DIY terrarium tutorial for those of you
that like to reuse, recycle and don't want to break the bank
my materials
olive jar, pasta sauce jar, baby food jar, kerr jar, all from the recycle {$0}
irish moss Sagina subulata purchased with a home depot gift card {$0}
a rescued zebra plant Hawthornia fasciata {$0}
a rescued echeveria hybrid Echeveria 'Perle von Nurnberg' {$0}
soil from a potted plant in yard {$0}
rocks from yard {$0}
bark and twigs collected from yard {$0}


.JPG)


.JPG)
.JPG)
.JPG)
that like to reuse, recycle and don't want to break the bank
my materials
olive jar, pasta sauce jar, baby food jar, kerr jar, all from the recycle {$0}
irish moss Sagina subulata purchased with a home depot gift card {$0}
a rescued zebra plant Hawthornia fasciata {$0}
a rescued echeveria hybrid Echeveria 'Perle von Nurnberg' {$0}
soil from a potted plant in yard {$0}
rocks from yard {$0}
bark and twigs collected from yard {$0}

the moss terrarium
1. begin by placing a layer of rocks in your container
2. add a layer of soil

3. remove moss from container and break up rootball
4. place moss in container and press down gently to nest it into the top of the layer of soil

5. add rocks, bark, twigs, or figurines for embellishment
{if desired}

6. water enough so things are moist but do not saturate
7. place lid on container
{lid will need to be removed occasionally for air flow}
8. enjoy your creation!
.JPG)
the succulent terrarium
1. place layer of rocks then a layer of soil

2. remove succulent from container break up root ball
3. place succulent{s} in soil
4. use a spoon to add soil around the succulent

5. add embellishments
{i added some moss and bark}
6. water but do not put a lid on the container
{succulents need air circulation}
7. soak up the cuteness!

follow same steps for these smaller plantings

for $0
i recycled 4 glass jars
saved two succulents
made 4 terrariums
and had an absolute blast doing it
.JPG)
terrariums are perfect for table tops
bookshelves
window sills
and make great gifts
{housewarming, get well, birthday, just because...}
i'm currently keeping these little guys all to myself though
as they've now made their new home on the dresser in my bedroom
.JPG)
.JPG)